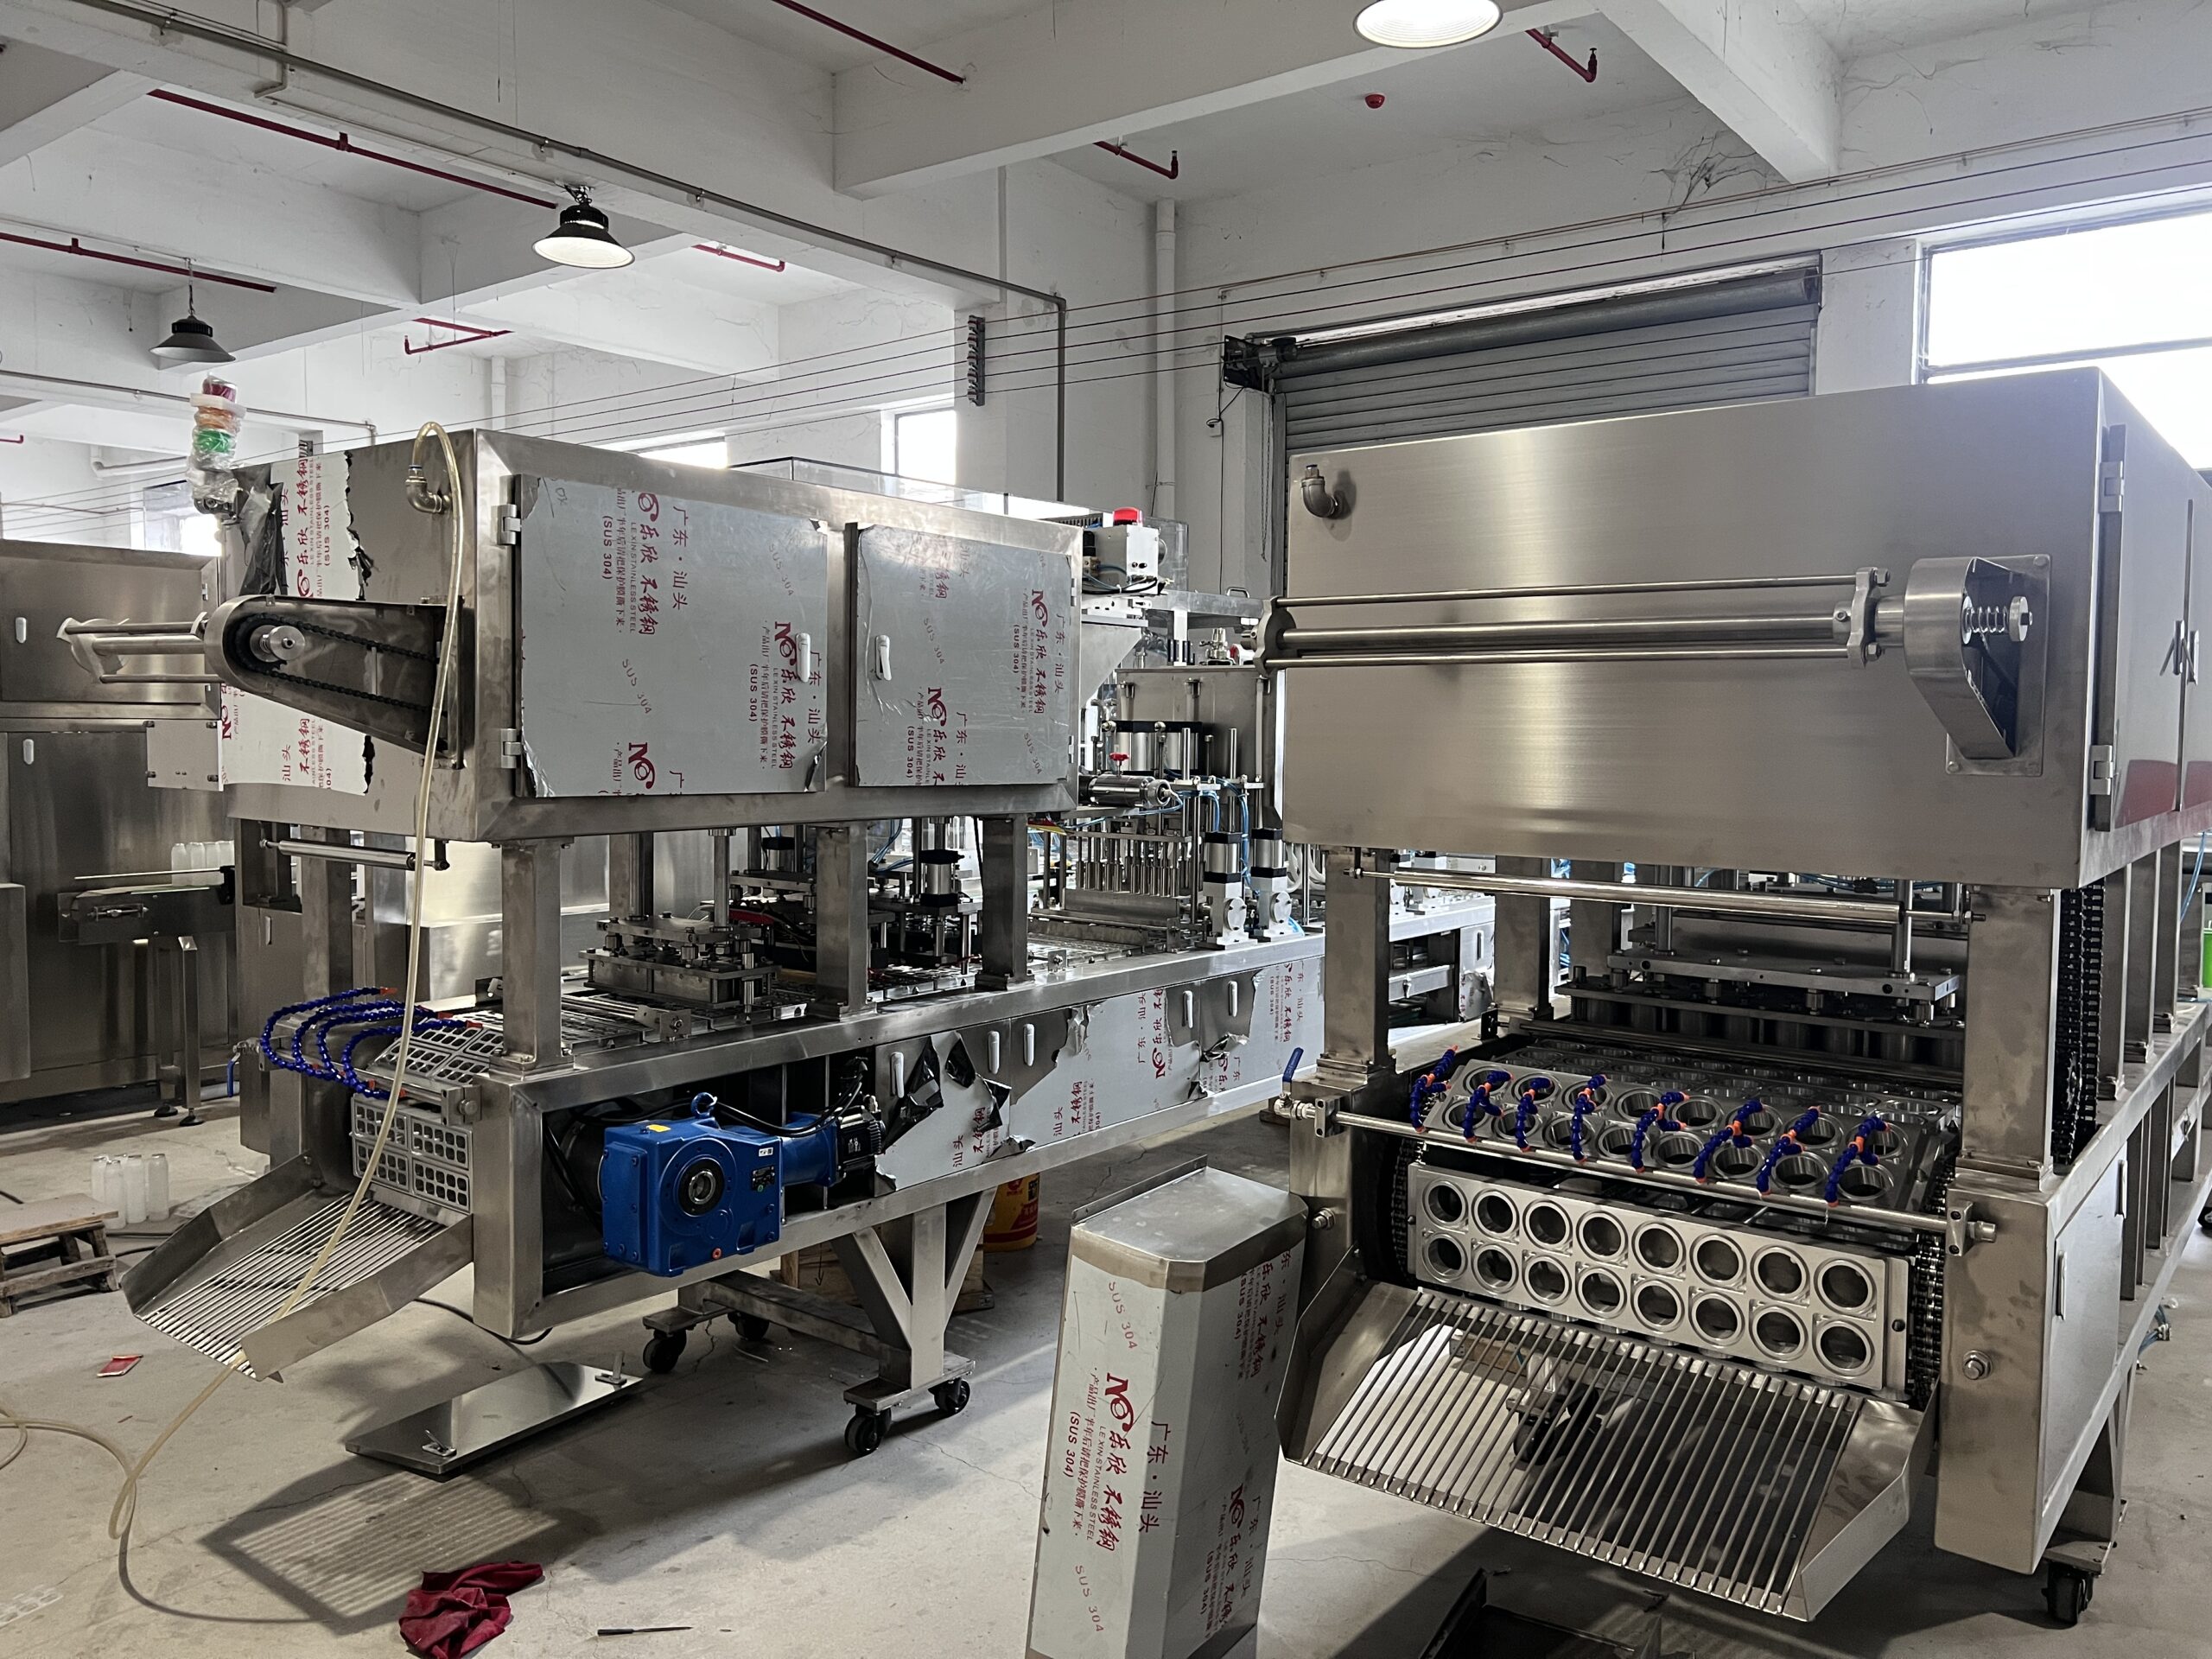
Why is my cup filling machine not sealing properly?
Having problems with your cup filling machine not sealing? It’s a frustrating issue, and it can disrupt your production. But, it is fixable.
The main reasons your cup filling machine isn’t sealing properly are usually related to temperature, pressure, time, worn parts, or mismatched materials. Checking these things usually solves the problem.

Troubleshooting sealing problems is key for smooth operations. So, let’s dive into the common causes.
Why is my cup sealing machine not sealing?
Seeing your cups go through the line without a proper seal? This is a common problem that can lead to spillage and product waste. So you need to pay more attention to it.
Cup sealing machines fail when the temperature is wrong, the pressure is off, the sealing time is incorrect, or the film and cup materials don’t match.
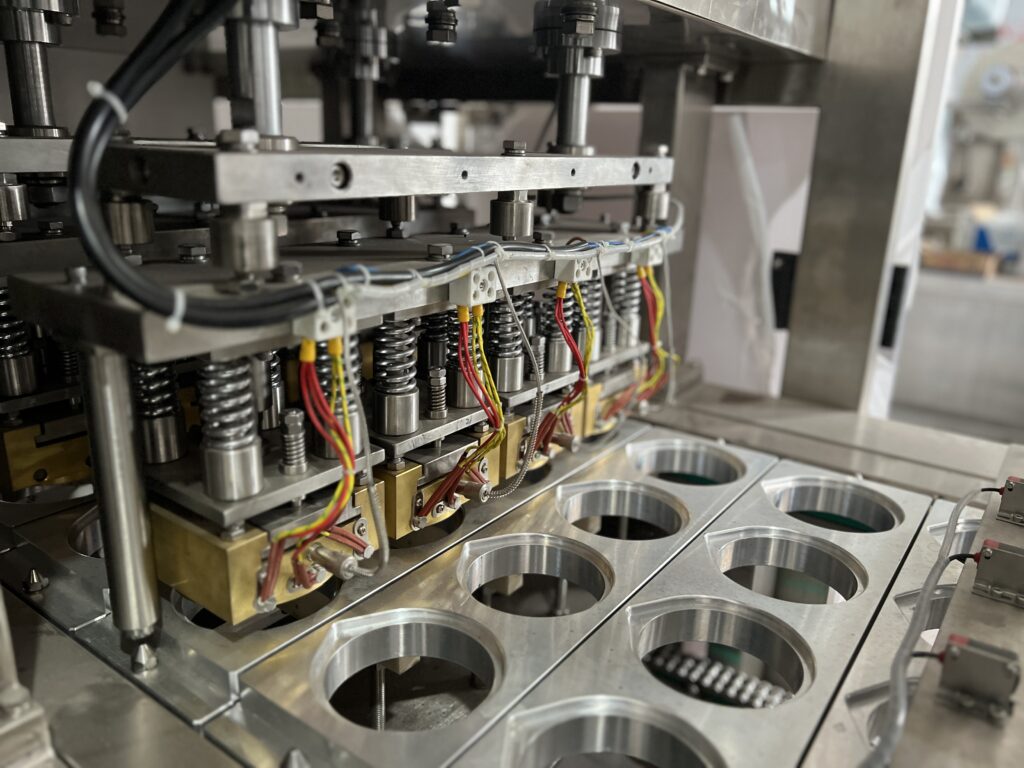
Let’s explore these issues further. Understanding each element will help in fixing the sealing process.
Key Factors in Cup Sealing
| Factor | Description | Possible Problems | Solutions |
|---|---|---|---|
| Temperature1 | The heat applied to the film to make it adhere to the cup. | Too low (no seal), Too high (film melts or burns). | Adjust temperature settings. Check the heating element for damage or malfunction. |
| Pressure | The force applied to the film and cup during sealing. | Insufficient pressure (weak seal). | Increase pressure settings. Inspect the sealing head and mechanism for any obstructions or wear. |
| Time | The duration the heat and pressure are applied. | Too short (weak seal), Too long (film damage). | Adjust sealing time. Ensure the timer mechanism is functioning correctly. |
| Material Matching2 | Compatibility between the cup material (e.g., PP, PET) and the sealing film (e.g., PP film for PP cups). | Incompatible materials (poor adhesion). | Use the correct film type for your cup material. Consult your supplier for compatible materials. |
| Sealing Head3 | The part of the machine that applies heat and pressure. | Worn or damaged surface (uneven seal). | Replace the sealing head or its surface. Regularly clean the sealing head to prevent residue buildup. |
| Film Positioning | The alignment of the film as it feeds into the machine. | Misaligned film (incomplete seal, film waste). | Check film roll positioning and alignment. Ensure the film path is clear and unobstructed. Check that the film sensor is properly aligned, if applicable. |
Why is my heat sealer not sealing properly?
Heat sealer not working right? This is a basic piece of equipment, but a faulty one can stop everything. So you need to know how to fix it.
Heat sealers often fail because of incorrect temperature settings, worn-out heating elements, or uneven pressure distribution across the sealing surface. Quick checks can fix it.
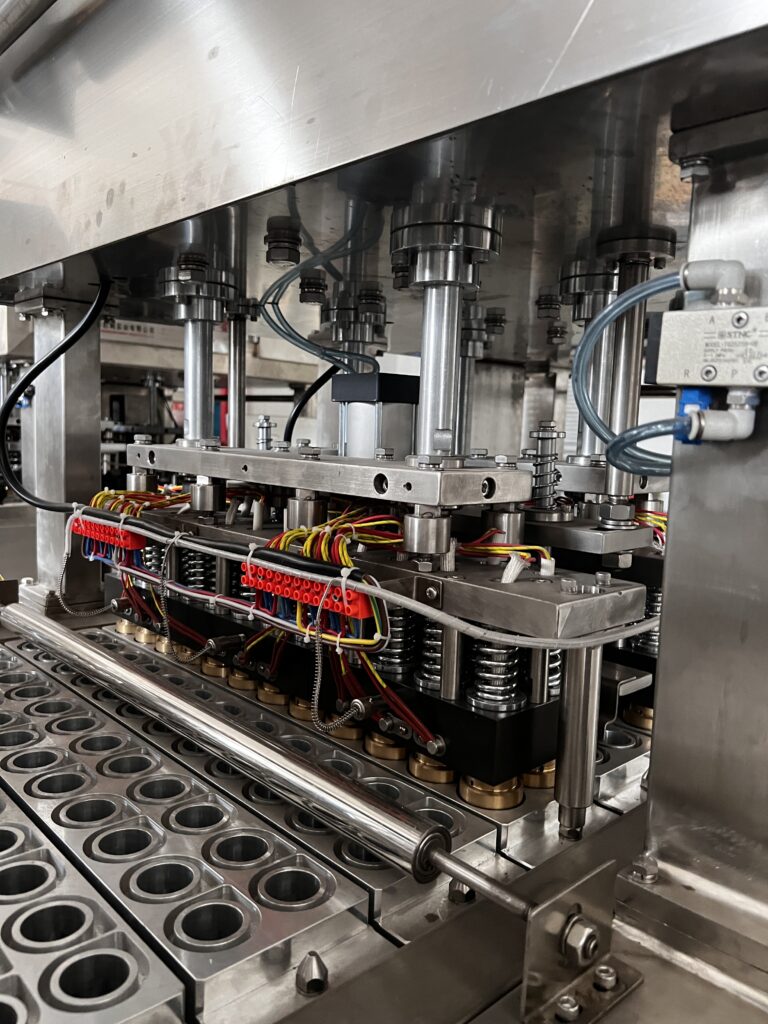
"Troubleshooting Heat Sealers")
We’ll get into more detail about these problems. You need to understand the specifics to maintain consistent sealing.
Troubleshooting Heat Sealer Issues
| Problem | Possible Cause | Solution |
|---|---|---|
| Uneven Sealing4 | Uneven pressure or temperature distribution. | Check the sealing bar for damage or wear. Ensure the surface is clean and free of debris. |
| Weak Seal5 | Insufficient temperature or sealing time. | Increase the temperature or time settings. Check the heating element for proper function. |
| Film Sticking/Melting6 | Excessive temperature or sealing time. | Decrease the temperature or time settings. Ensure the correct film type is being used. |
| No Power | Electrical issue or faulty wiring. | Check the power cord and outlet. Inspect internal wiring and components for damage. |
What are the common problems encountered when using a can sealer equipment?
Can sealer equipment giving you trouble? Sealing cans is important for preservation, so any hiccup is a big deal. But do not worry about this.
Common can sealer problems include seam defects, improper sealing pressure, worn-out chucks or rolls, and timing issues. Regular checks can fix them.
Let’s break down each of these issues. Proper can sealing is key for product safety and shelf life.
Diagnosing Can Sealer Problems
| Problem | Possible Cause | Solution |
|---|---|---|
| Incomplete Seams | Misalignment of the can or sealing head. | Check can and lid alignment. Adjust the machine settings for the specific can size. |
| False Seams | Worn or damaged seaming rolls or chuck. | Inspect and replace worn parts. Ensure proper lubrication of moving parts. |
| Droop | Excessive gap between the can body and the lid during sealing. | Adjust the seaming roll settings. Check for proper can and lid placement. |
| Cut-Over | Sharp edge on the seam, indicating excessive pressure. | Reduce the pressure settings. Inspect the seaming rolls for damage. |
| Timing Issues | Incorrect timing of the sealing process. | Adjust the timing settings. Ensure all components are synchronized correctly. |
How does cup sealer work?
Ever wonder how a cup sealer works its magic? It looks simple, but there’s a precise process behind it. And we need to know the basic working process.
Cup sealers work by applying heat and pressure to a film, bonding it to the rim of a cup, creating an airtight seal. Very easy to understand.
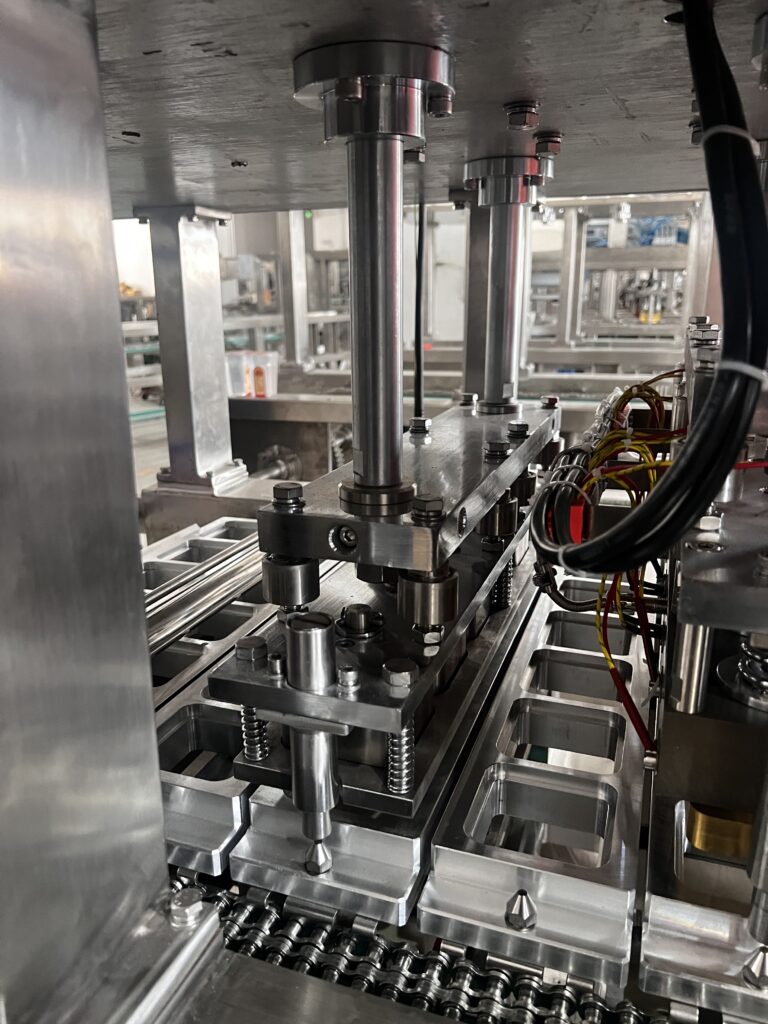
Let’s go deeper into how this process works. It’s good to understand the mechanics to better operate and fix the machine.
The Cup Sealing Process Explained
-
Cup Placement: The filled cup is placed into the machine’s holder. This can be done manually or automatically.
-
Film Alignment: Sealing film, usually from a roll, is positioned over the cup. Sensors help with accurate placement, especially in automatic machines.
-
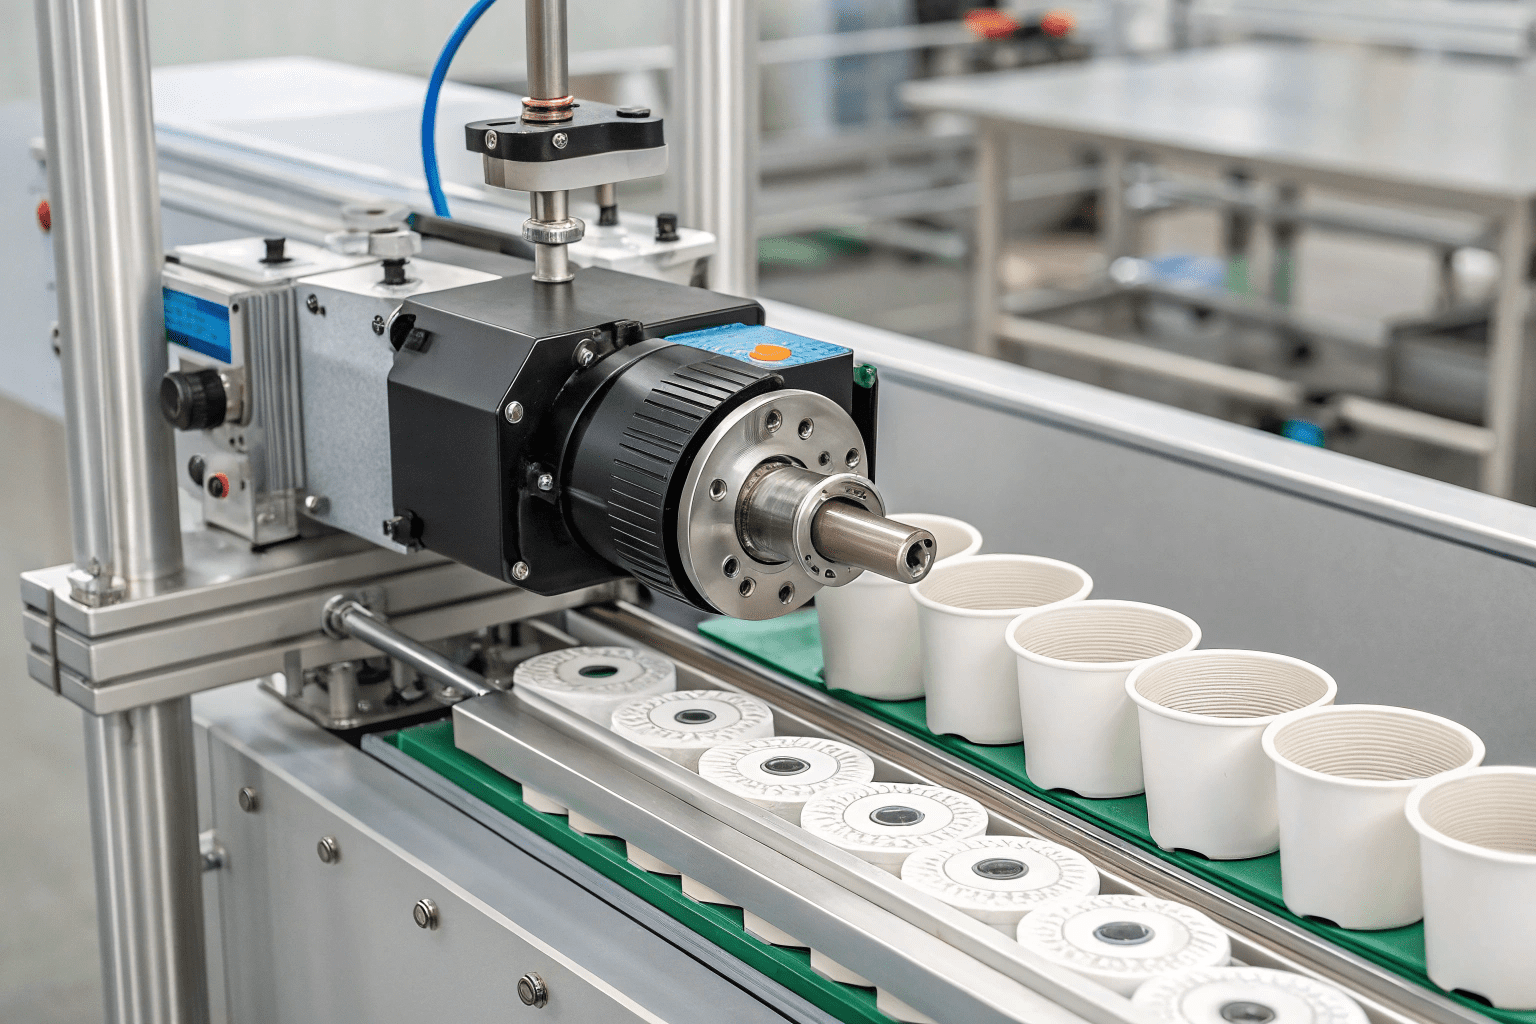
Sealing Head Activation: The sealing head, which is heated, lowers onto the cup. The temperature is specifically set for the type of film and cup material.
-
Pressure Application7: The sealing head presses down. This pressure ensures the film bonds evenly with the cup rim.
-
Dwell Time8: Heat and pressure are maintained for a set time. The time is critical for a strong seal without damaging the film.
-
Cooling and Release: The sealing head lifts. The sealed cup is then removed, either manually or by an automated system.
Conclusion
Fixing a cup filling machine that’s not sealing right involves checking a few key things. Usually, it’s about temperature, pressure, timing, or matching the right materials. Keep these in check, and the machine should be fine!
-
Understanding the optimal temperature can help ensure a perfect seal, preventing issues like melting or weak adhesion. ↩
-
Choosing the right film for your cup material is crucial for achieving strong adhesion and preventing product waste. ↩
-
Learning about sealing head maintenance can help improve seal quality and extend the life of your packaging equipment. ↩
-
Understanding the causes of uneven sealing can help improve packaging quality and efficiency. Explore this link for detailed insights. ↩
-
Discover effective solutions to strengthen seals in packaging, ensuring product integrity and reducing waste. Check out this resource for expert advice. ↩
-
Learn about the best practices to prevent film sticking or melting, which can enhance your packaging process. This link offers valuable tips and solutions. ↩
-
Learning about pressure application can help you understand its significance in achieving strong and reliable seals in packaging. ↩
-
Exploring dwell time’s impact can enhance your knowledge of effective sealing techniques and improve product quality. ↩


