
Leaky cups are costing you money and damaging your brand. Production is stalled. Let’s find the simple fixes to get you sealing perfectly again.
Cup sealing failures usually stem from four key issues: poor quality film, incorrect sealing temperature, an uneven sealing surface, or insufficient sealing time. Adjusting these simple parameters can quickly solve most sealing problems.
I’ve seen these issues countless times over my years in the business. A small problem can cause huge delays. But don’t worry, the solutions are usually straightforward. Let’s break down each problem one by one so you can get your production line back up to speed.
Is Your Sealing Film Causing the Problem?
You’ve changed the film roll, but the seals are weak or inconsistent. Is your machine broken? Let’s check if the film is the real problem first.
Yes, a mismatched or low-quality sealing film is a frequent issue. Make sure your film material (like PP or PE) matches your cup material1. A damaged or wrinkled film roll will also fail to create a strong, clean seal on your products.

I remember a client in Indonesia who was having terrible sealing issues with their new yogurt line. They were sure our machine was faulty. I flew over and the first thing I checked was their film. They had bought cheaper PET film for their PP cups. The materials just wouldn’t bond properly. It’s a fundamental but common mistake. The right film isn’t just about material; it’s about quality.
Film and Cup Material Compatibility
The most critical factor is ensuring your film and cup material1s are compatible. They need to melt and bond together at the same temperature range. Using the wrong combination is like trying to glue two things together with water.
| Cup Material | Recommended Film Material | Common Use |
|---|---|---|
| PP | PP | Yogurt, Juice, Water |
| PET | PET | Cold Drinks, Salads |
| PS | PS | Pudding, Jelly |
| PE | PE | Milk, Dairy products |
How to Spot Low-Quality Film
Low-quality film can have inconsistent thickness, impurities, or a poorly applied sealing layer. This results in weak spots or areas that don’t seal at all. Always source your film from a reputable supplier to avoid these production headaches.
Is the Sealing Temperature Set Correctly?
Your seals are either melted and messy or just don’t stick at all. You keep adjusting, but you’re just creating more waste and getting frustrated.
Absolutely. The sealing temperature2 is critical. If it’s too low, the film won’t melt enough to bond with the cup. If it’s too high, the film can burn, creating a weak, messy seal and potentially damaging your product.
%[A digital control panel of a sealing machine showing the temperature setting.](https://8xc.com/wp-content/uploads/2025/10/de01671ae34e8901225dd41bea78cc8d-1024×465.jpg”Sealing Machine Temperature Control")
Setting the right temperature is a balancing act. It depends on your film’s material, its thickness, and even the speed of your production line. A customer in Pakistan called me once, complaining that his seals were failing in the afternoon. It turned out the ambient temperature in his factory was much higher in the afternoon, which meant the temperature setting that worked in the morning was now too hot. We simply lowered it by 5 degrees and the problem was solved. This shows that even small external factors matter.
Finding the Sweet Spot
Start with the recommended temperature from your film supplier. Then, make small adjustments. A good seal should be strong, clear, and peel off cleanly without leaving residue.
Temperature Troubleshooting
Here is a simple guide to help you adjust the temperature on your cup sealing machine.
| Symptom | Probable Cause | Solution |
|---|---|---|
| Seal is weak, peels off too easily | Temperature too low | Increase temperature in 2-5°C increments. |
| Film is burnt, melted, or discolored | Temperature too high | Decrease temperature in 2-5°C increments. |
| Seal is inconsistent (strong & weak) | Uneven heat | Check the heating element for damage or dirt. |
| Film sticks to the sealing head | Temperature too high | Lower the temperature and clean the sealing head3. |
Always allow the machine a few minutes to stabilize at the new temperature before testing the seals again. Small, patient adjustments are key.
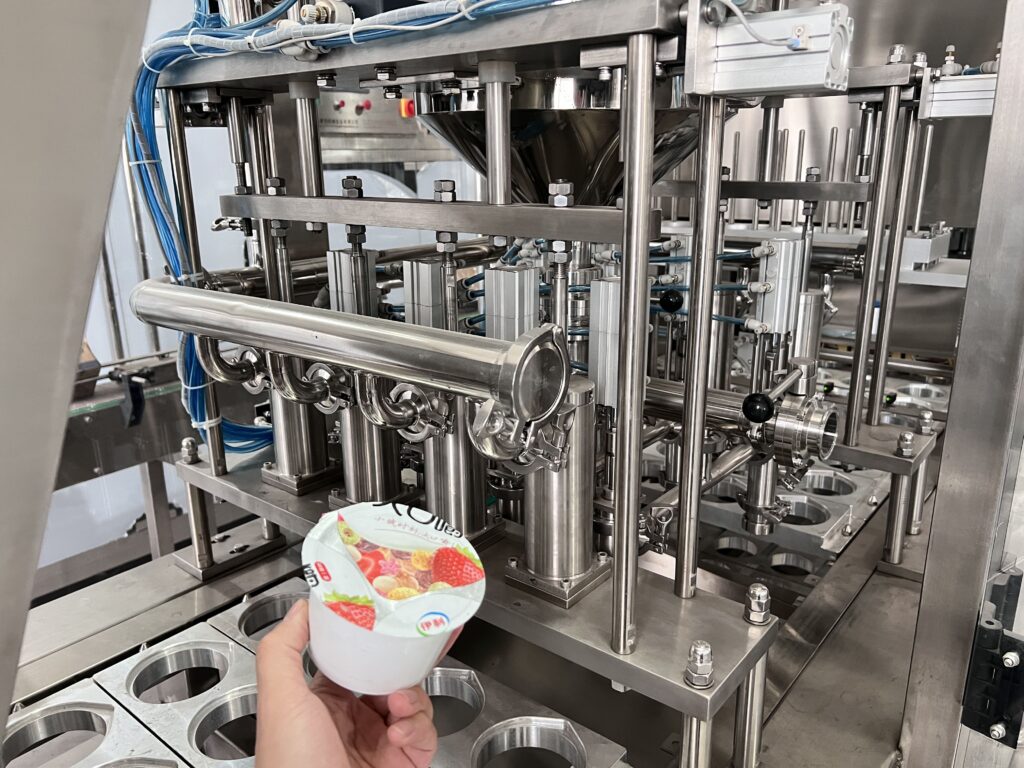
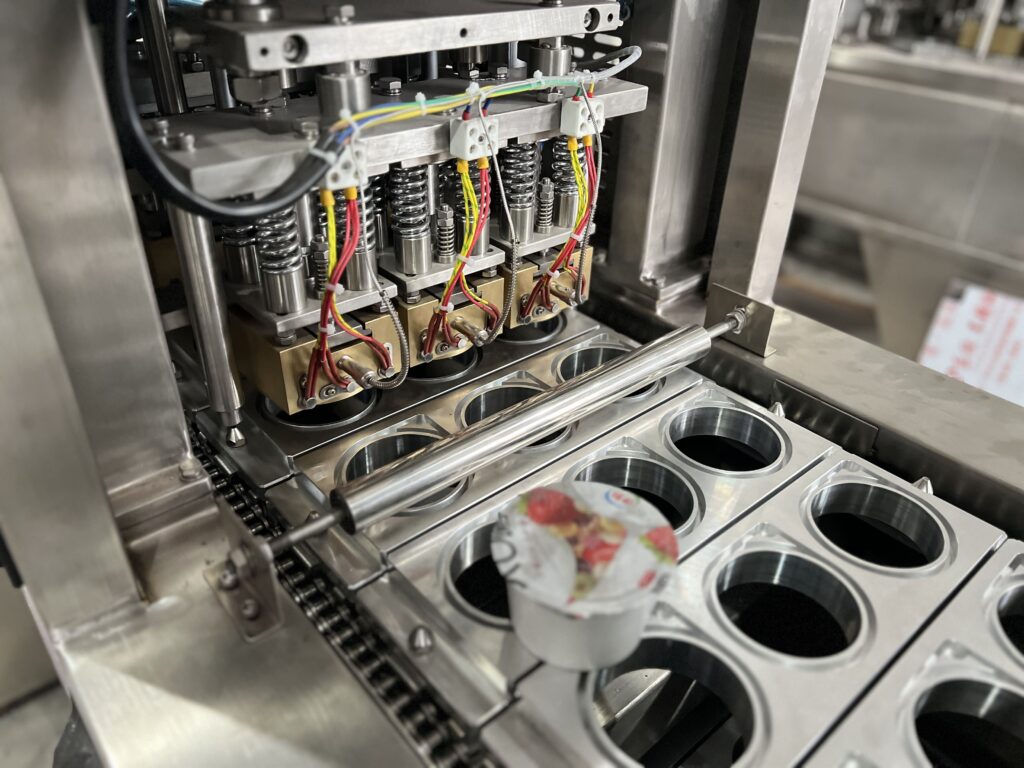
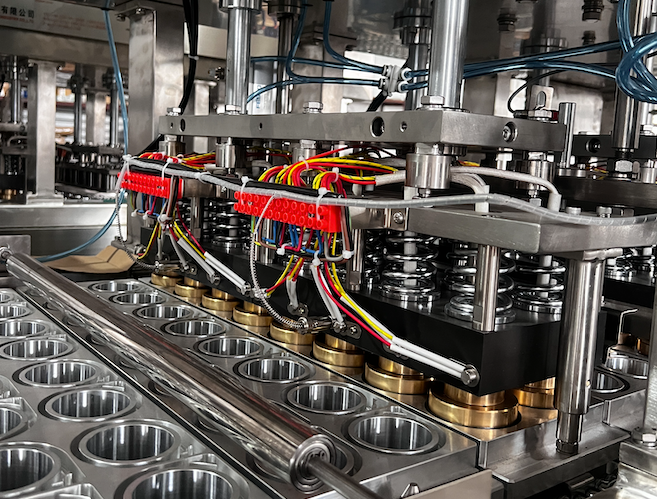
Could an Uneven Sealing Surface Be the Issue?
You’ve checked the film and the temperature, but the film still breaks or seals unevenly. This can be one of the most frustrating problems to diagnose.
Yes, an uneven sealing surface4 is a hidden cause of many sealing failures. If the cup rim isn’t perfectly flat or if there is product residue on it, the sealing head cannot apply even pressure, leading to breaks or weak spots.
This is a classic problem, especially with liquid or semi-liquid products like juice or yogurt. A little splash during the filling process5 is all it takes to ruin a seal. I was visiting a client in Algeria who produces chili sauce. Their seals were failing randomly. We watched the machine closely and saw that the filling nozzle was dripping slightly after each fill, leaving a tiny drop of sauce on the cup rim. This was enough to prevent a perfect seal. We adjusted the filler to prevent dripping, and the problem disappeared completely.
Causes of an Uneven Surface
It’s not just about product spillage. The issue can come from several places.
Keeping the Sealing Surface Perfect
- Check Your Filling Process: Ensure your filling nozzles are not dripping or splashing product onto the cup rim. The fill level should be consistent and leave enough headspace.
- Inspect the Sealing Head: The sealing head itself must be perfectly clean. Burnt film or product residue can build up over time, creating an uneven surface that prevents proper pressure application. Regular cleaning is essential for quality control.
- Examine the Cups: Sometimes the problem is the cups themselves. Poor quality cups might have defects, burrs, or inconsistencies on the rim from the manufacturing process. Always check a new batch of cups before a long production run.
A flat, clean, and dry sealing surface is non-negotiable for a strong, reliable seal.
Is the Sealing Time Too Short?
Everything seems right—film, temperature, surface—but your seals still feel weak. You might be overlooking one of the simplest parameters: time. Is the machine moving too fast?
Definitely. Sealing is a function of temperature, pressure, and time. If the sealing time is too short, the heat doesn’t have enough time to penetrate the film and properly bond it to the cup, resulting in a weak seal.
This is a common issue when operators try to maximize output by increasing the machine’s speed. I had a conversation with a factory manager in Vietnam who was very proud of how fast he could run his ice lolly tube filling line. But he was also dealing with a high rate of leakers. I explained that the plastic needed a specific amount of time under heat and pressure to form a solid bond. We slightly increased the sealing dwell time6—just by a fraction of a second—and his leakage rate dropped to almost zero. He lost a tiny bit of speed but gained a huge amount in product quality and reduced waste.
The Relationship Between Time, Temperature, and Speed
These three elements are all connected. Think of it as a triangle. If you change one, you may need to adjust another.
- Higher Speed (Shorter Time): If you want to run your machine faster, you will likely need to increase the sealing temperature to compensate for the shorter contact time.
- Thicker Film: A thicker film requires more time and/or a higher temperature for the heat to penetrate through all the layers and create a strong bond.
How to Find the Right Sealing Time
- Start with the Manual: Check the machine’s manual and your film supplier’s recommendations for a starting point.
- Test and Adjust: Produce a few sealed cups and perform a peel test. If the seal is weak, increase the dwell time by small increments (e.g., 0.1 seconds) until you achieve a strong, consistent seal.
- Balance Speed and Quality: Find the optimal balance. Running the machine slightly slower to ensure a perfect seal is always more profitable than running it fast and dealing with a high percentage of failed products.
Conclusion
Most cup sealing problems come from film, temperature, surface, or time. By checking these four things, you can solve almost any sealing issue and keep your production running smoothly.
-
Choosing the right cup material is essential for achieving strong seals and product integrity. ↩ ↩
-
Setting the right temperature is key to achieving perfect seals and preventing waste. ↩
-
Regular maintenance of the sealing head is crucial for consistent sealing performance. ↩
-
Discover how surface irregularities can lead to sealing failures and how to fix them. ↩
-
Understanding the filling process can help you prevent issues that lead to sealing failures. ↩
-
Learn about sealing dwell time to ensure strong bonds and reduce product waste. ↩
